Introducing Layers

The process of animation is a complex one. Many elements, animated independently, have to come together to bring a scene to life. Every detail in the scene matters—individually and as a group. The freedom that allows animators to animate and make each element of a scene tell its own story is the magic that separates great animations from good ones. This is where Layers come into the picture.
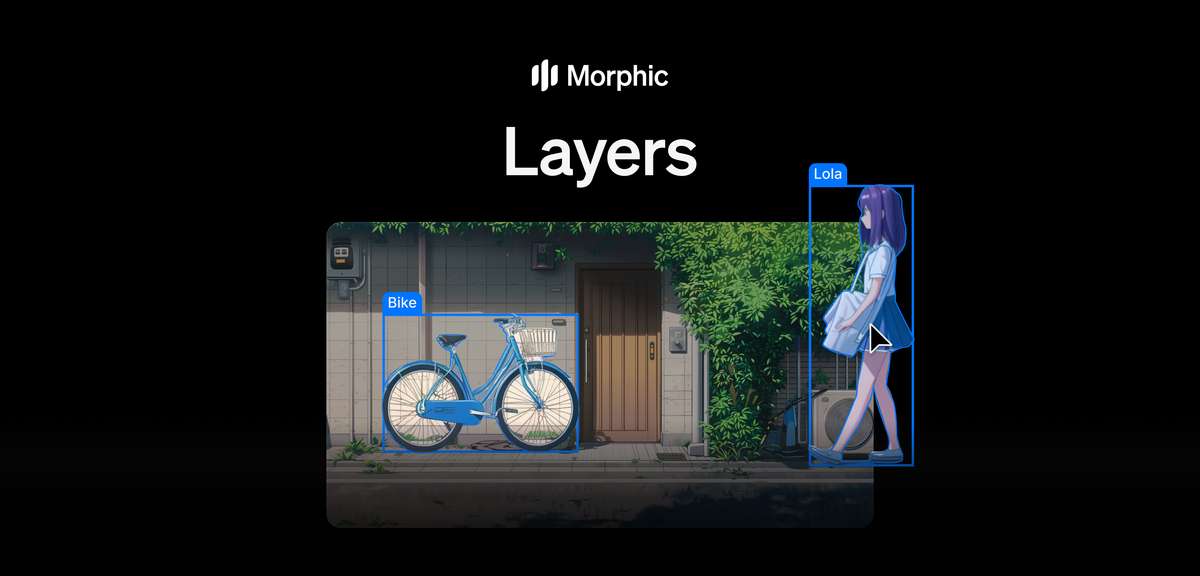
Introducing Layers, a new feature of Morphic Studio that gives you precise control over your artwork, allowing you to segment, arrange, and manage frame elements individually with layers. This feature is designed to enhance your ability to build scenes, create frames, and compose complex visuals with ease.
Auto Segmentation
The core part of Layers is Auto Segmentation, which provides a quick way to divide your frame into layers. Auto Segmentation analyzes your image and automatically separates major elements into distinct layers. This is ideal for setting up layers quickly for larger frame elements.
Manual Segmentation
Manual Segmentation allows you to control segmentation over specific elements within a frame. The Positive Points and Negative Points from the Prompt Bar help you in fine-tuning the selection of frame elements.
- Positive Points: Place positive points, the blue dots, on the element you want to isolate. Spread these positive points over the element to ensure full coverage. Morphic Studio will detect the element marked with positive points and separate it as a Layer.
- Negative Points: Place negative points, the red dots, over the element to exclude from segmentation. This is especially useful when different elements overlap. For instance, to segment an ice cream cone held by a hand, place Positive Points on the ice cream cone and Negative Points on the hand to separate the ice cream cone from the hand.
This feature gives you precise control, ensuring only the intended element is segmented without picking up surrounding areas.
Managing Layers
Once your Layers are created, Morphic Studio’s Layers panel will let you organize and manage them:
- Reorder Layers: Drag layers up or down in the stack. The topmost layer appears in the foreground, and the bottommost sits in the background.
- Hide/Unhide Layers: Toggle layer visibility with the eye icon. Experiment with different ideas and compositions with the Hide/Unhide tool.
- Lock Layers: Secure and lock any layer you’re happy with to prevent accidental adjustments.
- Delete Layers: Remove unwanted layers to keep your workspace clean.
- Duplicate Layers: Select a layer, and use Command + C and Command + V or Ctrl + C and Ctrl + V, allowing you to quickly replicate layers.
This suite of management tools makes it simple to arrange and refine each element within your scene.
Dragging Elements Between Artboards
For even greater flexibility, you can drag elements from one artboard to another. This functionality enables you to blend elements from different artboards, allowing for efficient scene-building and making it easy to reuse components across your artboards and project.
Exploring Layers
With Layers on Morphic Studio, deeper control, more flexibility, and efficient reuse of assets are now possible. For a more precise understanding of how Layers work, underlying tools, and how they help you craft beautiful frames on Morphic Studio, explore this walkthrough of Layers.
Simplify complexity and create great keyframes with Layers on Morphic Studio.


